New electric vehicle owners are usually told the same thing: install a Level 2 charger. That advice is often right, and it is also given without much explanation. Some drivers never need one. Others install the biggest charger available and discover that their car cannot use it.
The difference between charging levels is a matter of arithmetic, and the arithmetic is easy to do once you know which numbers to use. This guide explains what each level is and how to decide which one fits your driving.
In this guide
What the levels mean
Level 1 charging uses an ordinary household outlet at 120 volts, the same one that runs a lamp. The charging cord that comes with most electric vehicles plugs into it. It delivers power slowly, because a standard household circuit is limited in how much current it can supply continuously.
Level 2 charging uses a 240-volt supply, like an electric clothes dryer or oven. It requires a dedicated circuit and a piece of equipment, known as electric vehicle supply equipment, which is what people usually call a charger. The equipment does not actually charge the battery. It safely delivers power to the car, whose own onboard charger converts it to the form the battery needs.
There is also DC fast charging, which is found at public stations and is not available for home installation. It is a different category altogether.
What each adds per hour
It is common to quote charging speed as range added per hour. Treat the numbers below as rough orientation only, because they depend on the vehicle, its efficiency, the equipment, and the temperature.
- Level 1: typically adds somewhere in the region of a few miles of range per hour of charging.
- Level 2: typically adds many times that, commonly in the range of a few tens of miles per hour, depending on the charger’s output and how much the car can accept.
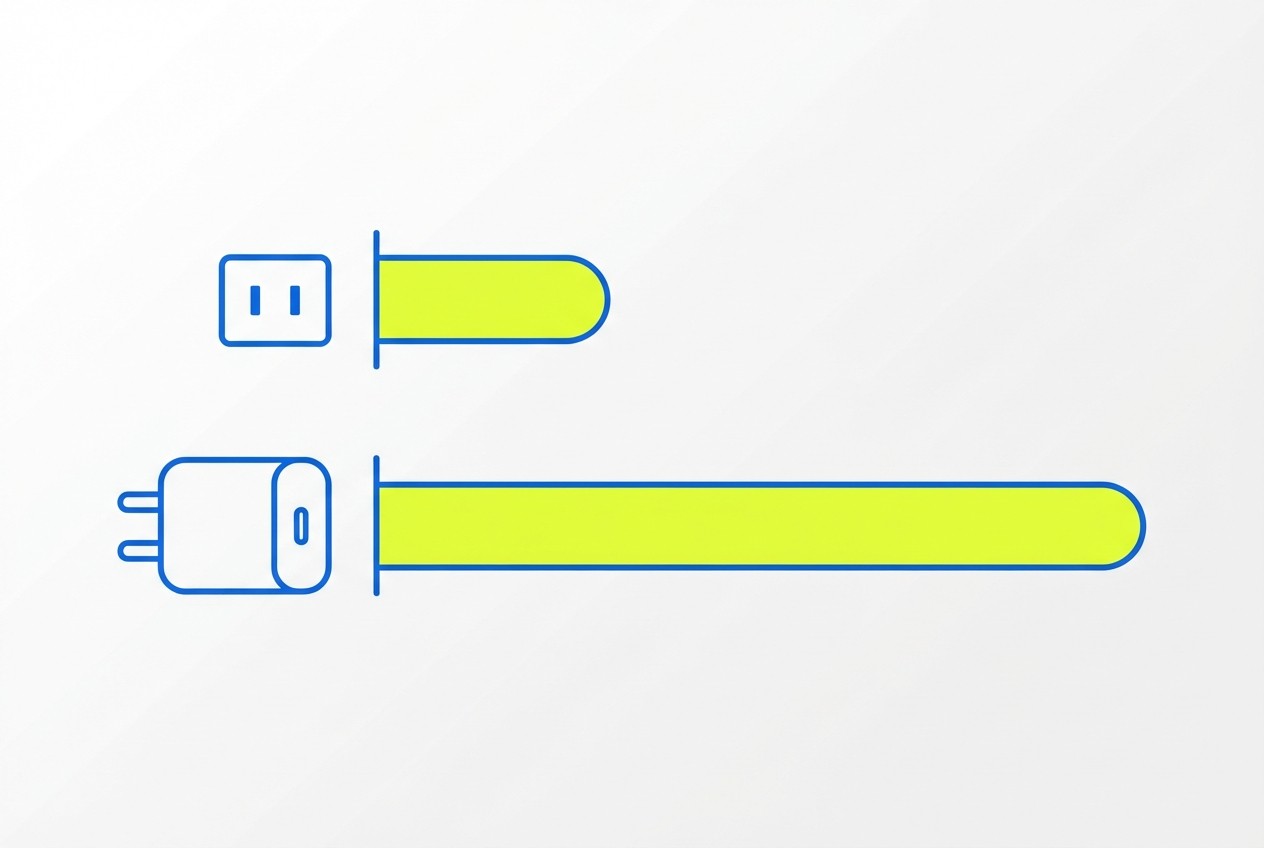
The gap between the levels is the point. What matters for you is not the gap but whether the slower option is enough.
The arithmetic that decides it
You can work out your own needs in three steps.
- How far do you drive on a typical day? Not your longest trip. The ordinary day, including errands.
- How much energy does that take? Electric vehicles use energy per mile, and the vehicle’s display or specification gives an efficiency figure. Multiply miles by energy used per mile to get kilowatt-hours.
- How long will the car be plugged in? For most people, overnight. Ten hours is a reasonable estimate for a car parked at home from evening to morning.
An illustration, with round numbers chosen only to show the method. Suppose a driver covers about 40 miles on a typical day and the car uses roughly 0.3 kilowatt-hours per mile. That is about 12 kilowatt-hours a day. A Level 1 connection supplying something over one kilowatt would take around nine or ten hours to replace it, so it covers the day, just. A Level 2 charger supplying several kilowatts would replace it in a couple of hours.
Your numbers will differ, and you should work them out for yourself. The pattern is typical, though: for modest daily mileage and a long overnight window, Level 1 is often enough. For longer commutes, several drivers in one household, or a need to recover quickly between trips, Level 2 is considerably more comfortable.
When Level 1 is enough
- You drive modest distances most days and the car sits for ten or more hours overnight.
- You can top up elsewhere occasionally, such as at work.
- You are testing electric driving before committing to an installation.
- You rent and cannot install equipment.
- The car has a small battery, such as a plug-in hybrid. A plug-in hybrid’s battery is small enough that Level 1 charging refills it overnight.
One caution. If you rely on a Level 1 outlet regularly, the outlet and the circuit behind it matter. Charging draws a steady load for hours, which is more demanding than most household uses. Old or worn outlets, loose connections, and circuits shared with other equipment can overheat. Do not use extension cords or unapproved adapters, and if you charge this way routinely, ask an electrician to inspect the outlet and the circuit.
When Level 2 earns its cost
- Your daily mileage is high enough that a slow charge cannot keep up.
- You have more than one electric vehicle, or share the charger between cars in one evening.
- You want to take advantage of cheap off-peak electricity in a limited window. A faster charge can fit into a short low-rate period.
- You often arrive home with a low battery and leave again quickly.
- You have a large battery, which takes a very long time to fill from Level 1.
- You want the convenience of never thinking about it.
A bigger charger does not always charge faster
This is the point that surprises people most. Charging speed is limited by the slowest element in the chain: the circuit, the charger and the car. The car’s onboard charger sets a ceiling on the power it can accept at home. If the car can accept a certain amount, connecting it to a charger capable of much more makes no difference; the car takes what it can.
So before paying for a high-output charger, look up the maximum AC charging rate of your vehicle in the owner’s manual. A charger matched to that figure gives you everything the car can use. One that is far larger costs more to buy and to install, because it needs a heavier circuit, and delivers nothing extra. If you might buy a different car in a few years, a somewhat larger charger gives room to grow, and that is a decision to make deliberately.
Level 1 and Level 2 compared
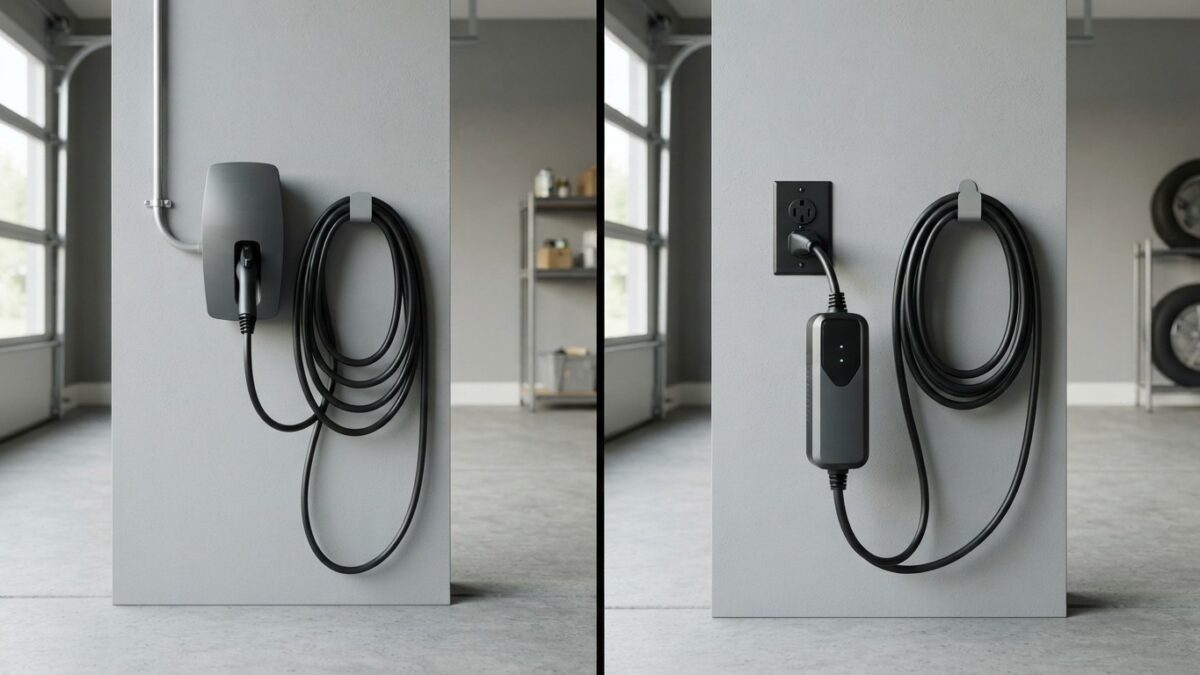
- Supply. Level 1: Standard 120-volt outlet. Level 2: 240-volt dedicated circuit.
- Equipment. Level 1: Cord supplied with the car. Level 2: Wall charger or plug-in charging unit.
- Speed. Level 1: Slow. Level 2: Several times faster, up to what the car accepts.
- Installation. Level 1: Often none, if an outlet exists and is sound. Level 2: Licensed electrician, permit and inspection in most places.
- Upfront cost. Level 1: Lowest. Level 2: Higher: equipment plus installation.
- Best for. Level 1: Low mileage, long dwell times, renters. Level 2: Regular daily use, larger batteries, shared cars.
Installation is the electrician’s job
Installing a Level 2 charging circuit is licensed electrical work. It involves a dedicated circuit from the panel, correct wire and breaker sizing, a proper connection, and in most areas a permit and inspection. We do not give instructions for it, and you should not attempt it yourself. What an article can do is help you understand the conversation, which is the aim of our guide on whether your home panel can support a charger.
Local rules, utility requirements and available programmes vary and change. Ask your electrician, your building department and your utility what applies to you, and confirm any incentive with the agency that administers it rather than relying on an article, including this one.
A practical way to decide
- Work out your typical daily energy need from your mileage and your car’s efficiency.
- Find your car’s maximum home charging rate in the manual.
- Estimate the time the car sits at home.
- Try Level 1 for a few weeks if you can. Many people find it is enough, and you will learn how you actually drive.
- If it is not enough, or if the numbers say it will not be, get quotes for Level 2.
- Choose a charger matched to the car’s limit, with some margin if you plan to change cars.
The right level is the smallest one that reliably covers your day. Beyond that you are paying for convenience, which is a legitimate thing to buy, but it is worth knowing that is what you are buying.
Key takeaways
- Choose the smallest option that reliably covers your day.
- Your car’s onboard charger caps how fast it can charge at home.
- A Level 2 installation is licensed electrical work with permits and inspection.
Next, read how an electrician judges whether your panel can take a charger.